The squeaking belt
For the past few months, a persistent squealing and screeching sound growling louder and longer whenever the Sienna starts. (You can hear it here when I'm trying to see if the battery will start.) My mom complained that it was getting very annoying, so it was up to me to see what could be done. Like many problems, it was initially difficult to pinpoint where the squealing noise exactly came from, but as a rule of thumb, always start with the easiest thing to check and fix.
That would be the serpentine belts, probably either the one connecting the alternator/generator, the A/C compressor, and the crankshaft pulley, or the one connected the crankshaft pulley and the power steering. These belts can loosen and potentially create the noise heard. Among the two belts, no doubt the first choice would be to start from the higher belt (the one connecting the alternator and A/C), since it would be much easier to reach and deal with in the event that it was in fact responsible. Two theories were plausible explanations for creating noise:
- The ridges on the inside of the belt were worn out and had breakages in between
- There was not as much tension on the belt after so many years of use and it would slip on the pulley during a cold start
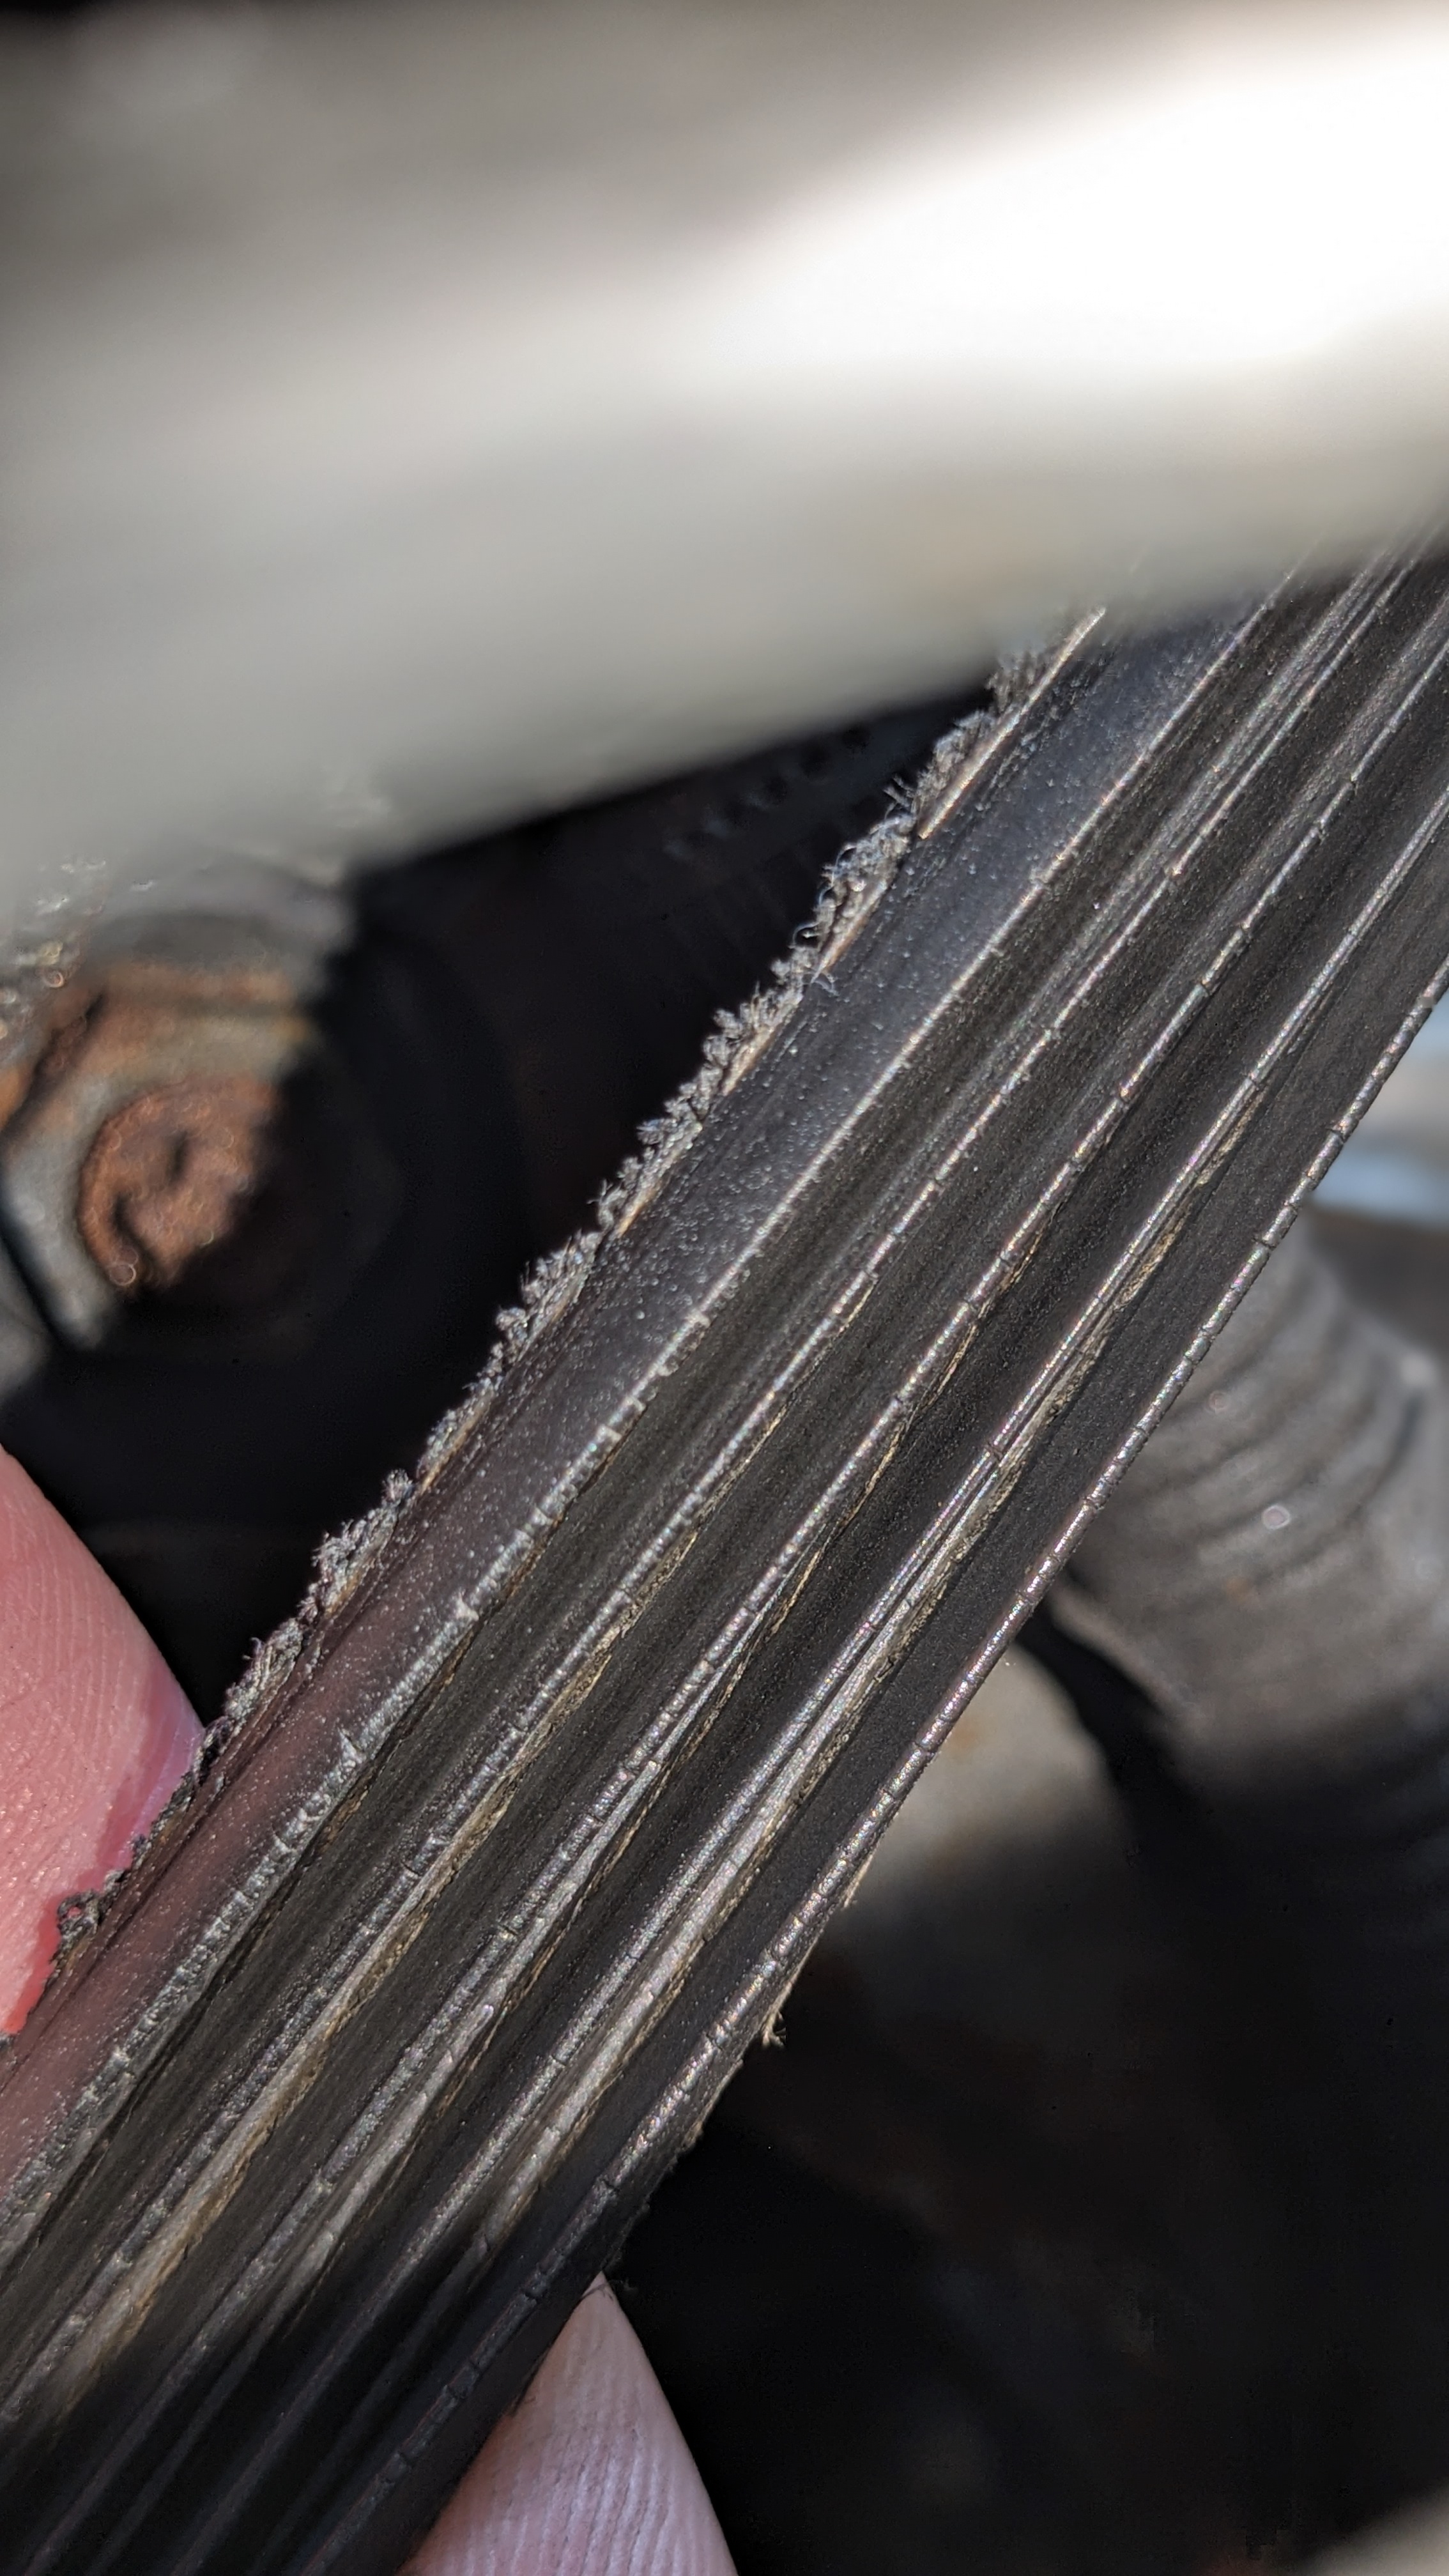
Upon examination, the belt was having trouble turning the crankshaft pulley, only making it turn and having the sound die down. The sound could last as long as two to three minutes after ignition and could get even worse when the temperature was low or when the fan was on. Rubbing the back of the belt didn't seem to indicate that the ridges had broken.
A simple trick to check the tension of these belts in general is to see whether or not the belt can be twisted 90° at the middle section of its longest span. When I tried this, I was able to turn the belt almost 180° and noted the ridges seemed to be pretty okay as well, with not too much wear. It seemed we were dealing with something near the domain of theory 2.
Below is a diagram of the serpentine belt.
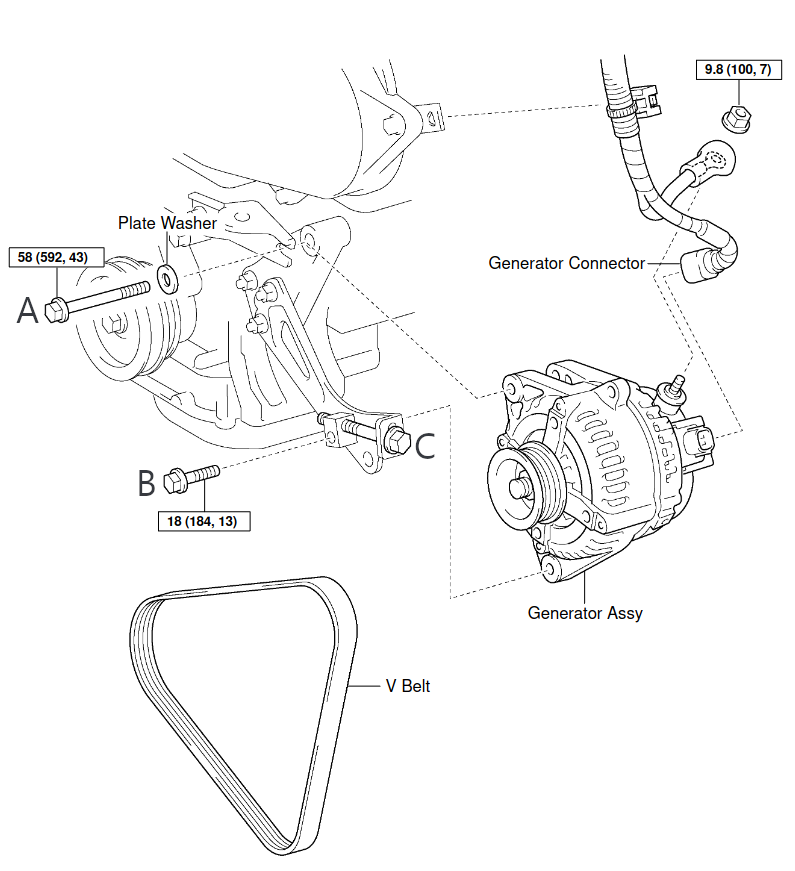
Screws A (14 mm) and B (12 mm) would have to be loosened and only then could screw C (also 12 mm) be used to adjust the tension.
When I put my wrench to the screws, the 17 years of the car made it very clear that they really did not want to be loosened. An application of WD-40 did not change this fact at all, so I made my way to my torque wrench, which gave me a longer arm as a breaker bar.
However, the head of the torque wrench was too big to fit into the car's space. Because both sides of the torque wrench had a size of 1/2", a 1/2" to 3/8" chrome vanadium adapter was needed to get my 14 mm or 12 mm socket in place, adding to the size when I only had 6 cm of clearance. After a long time struggling, it seemed the only solution was to use a joint socket with a head short enough to fit in that space.
One trip to AutoZone store, $2.99, and 24 hours later, I had my 3/8"-sized joint socket in hand.
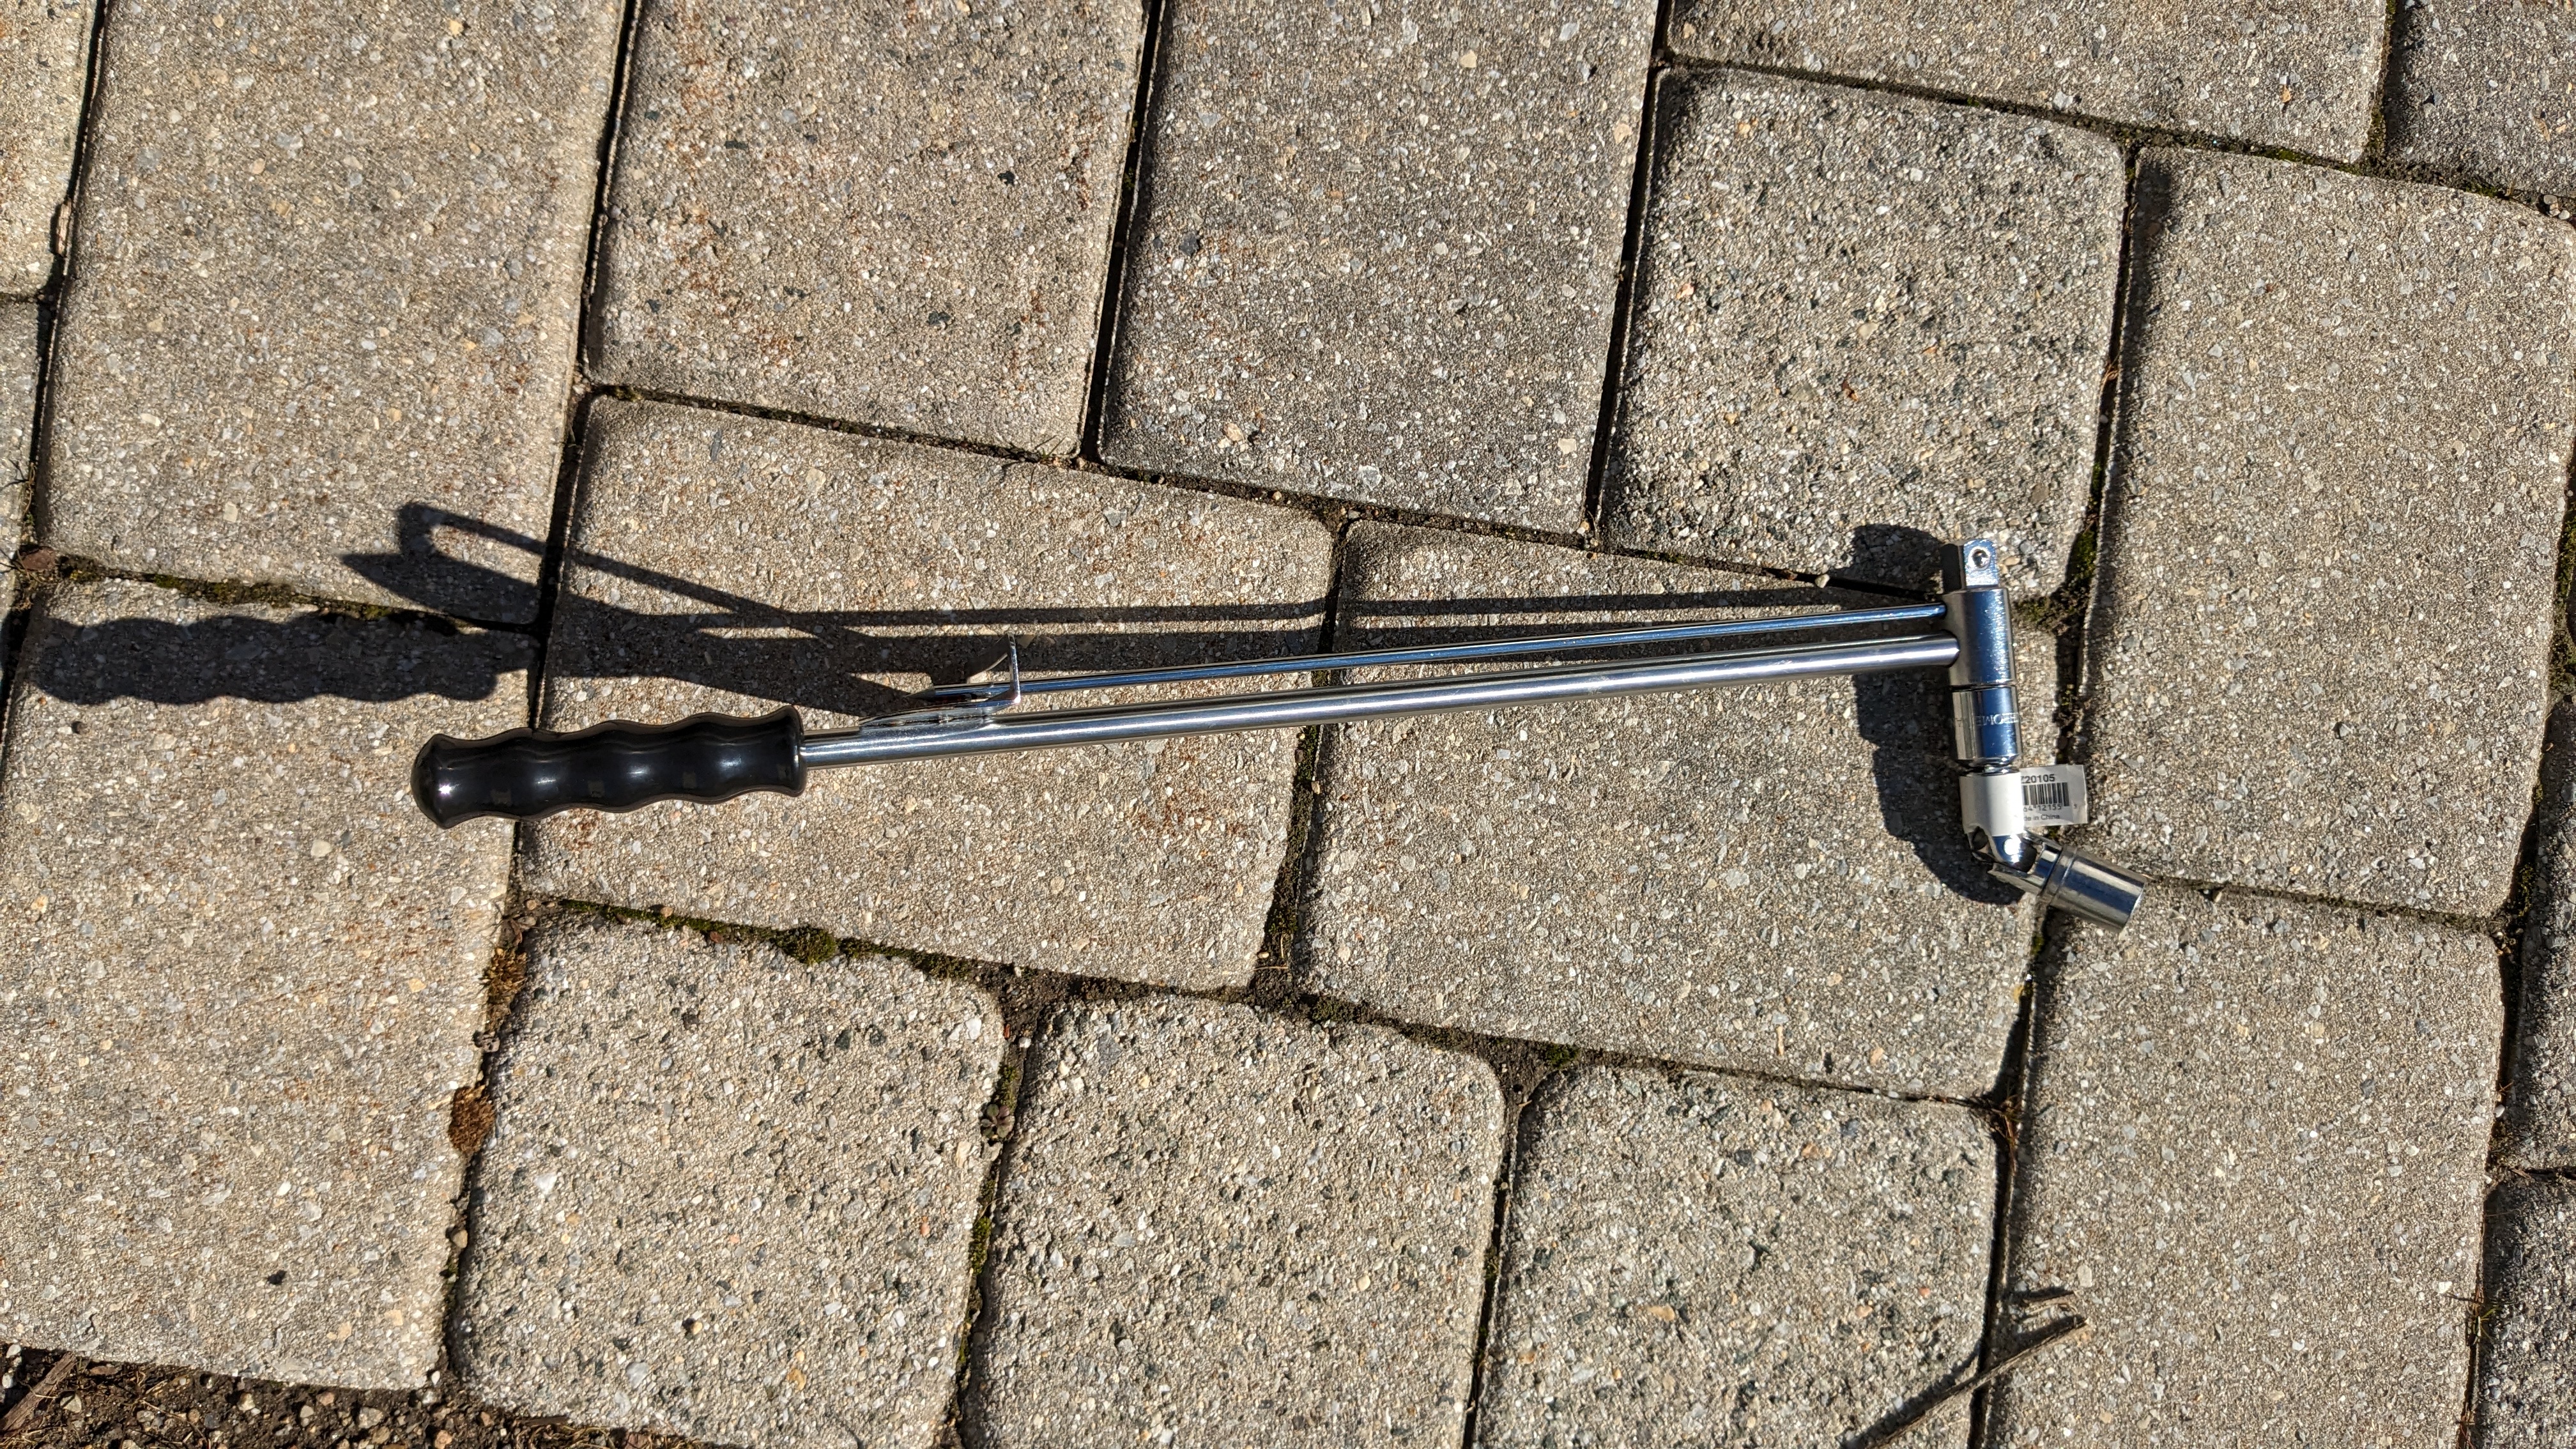
The biggest problem with this job was that because of the sheer number of wires and pipes in the way, I had to wrangle the torque wrench in and out the space at every given turn—I only had about 60° of rotational space to work with. What's more, due to the design of the joint socket (in that it finds the easiest way for it to rotate), some arrangements of the entire wrench mechanism were unable to effectively attach to screw A or B and then turn it. Thus, I had to take the joint socket off, rotate it 90°, and see if I could now the wrench could fit and create the torque I needed. This took a lot of time and effort to visualize. (Also interesting to note, and important if you do this in the future—using a joint socket prevents you from taking a torque reading if you use a wrench like that one I did—it simply becomes a bar that you can push and rotate in the plane perpendicular to the bar of metal with all the number readings. A click type is better.)
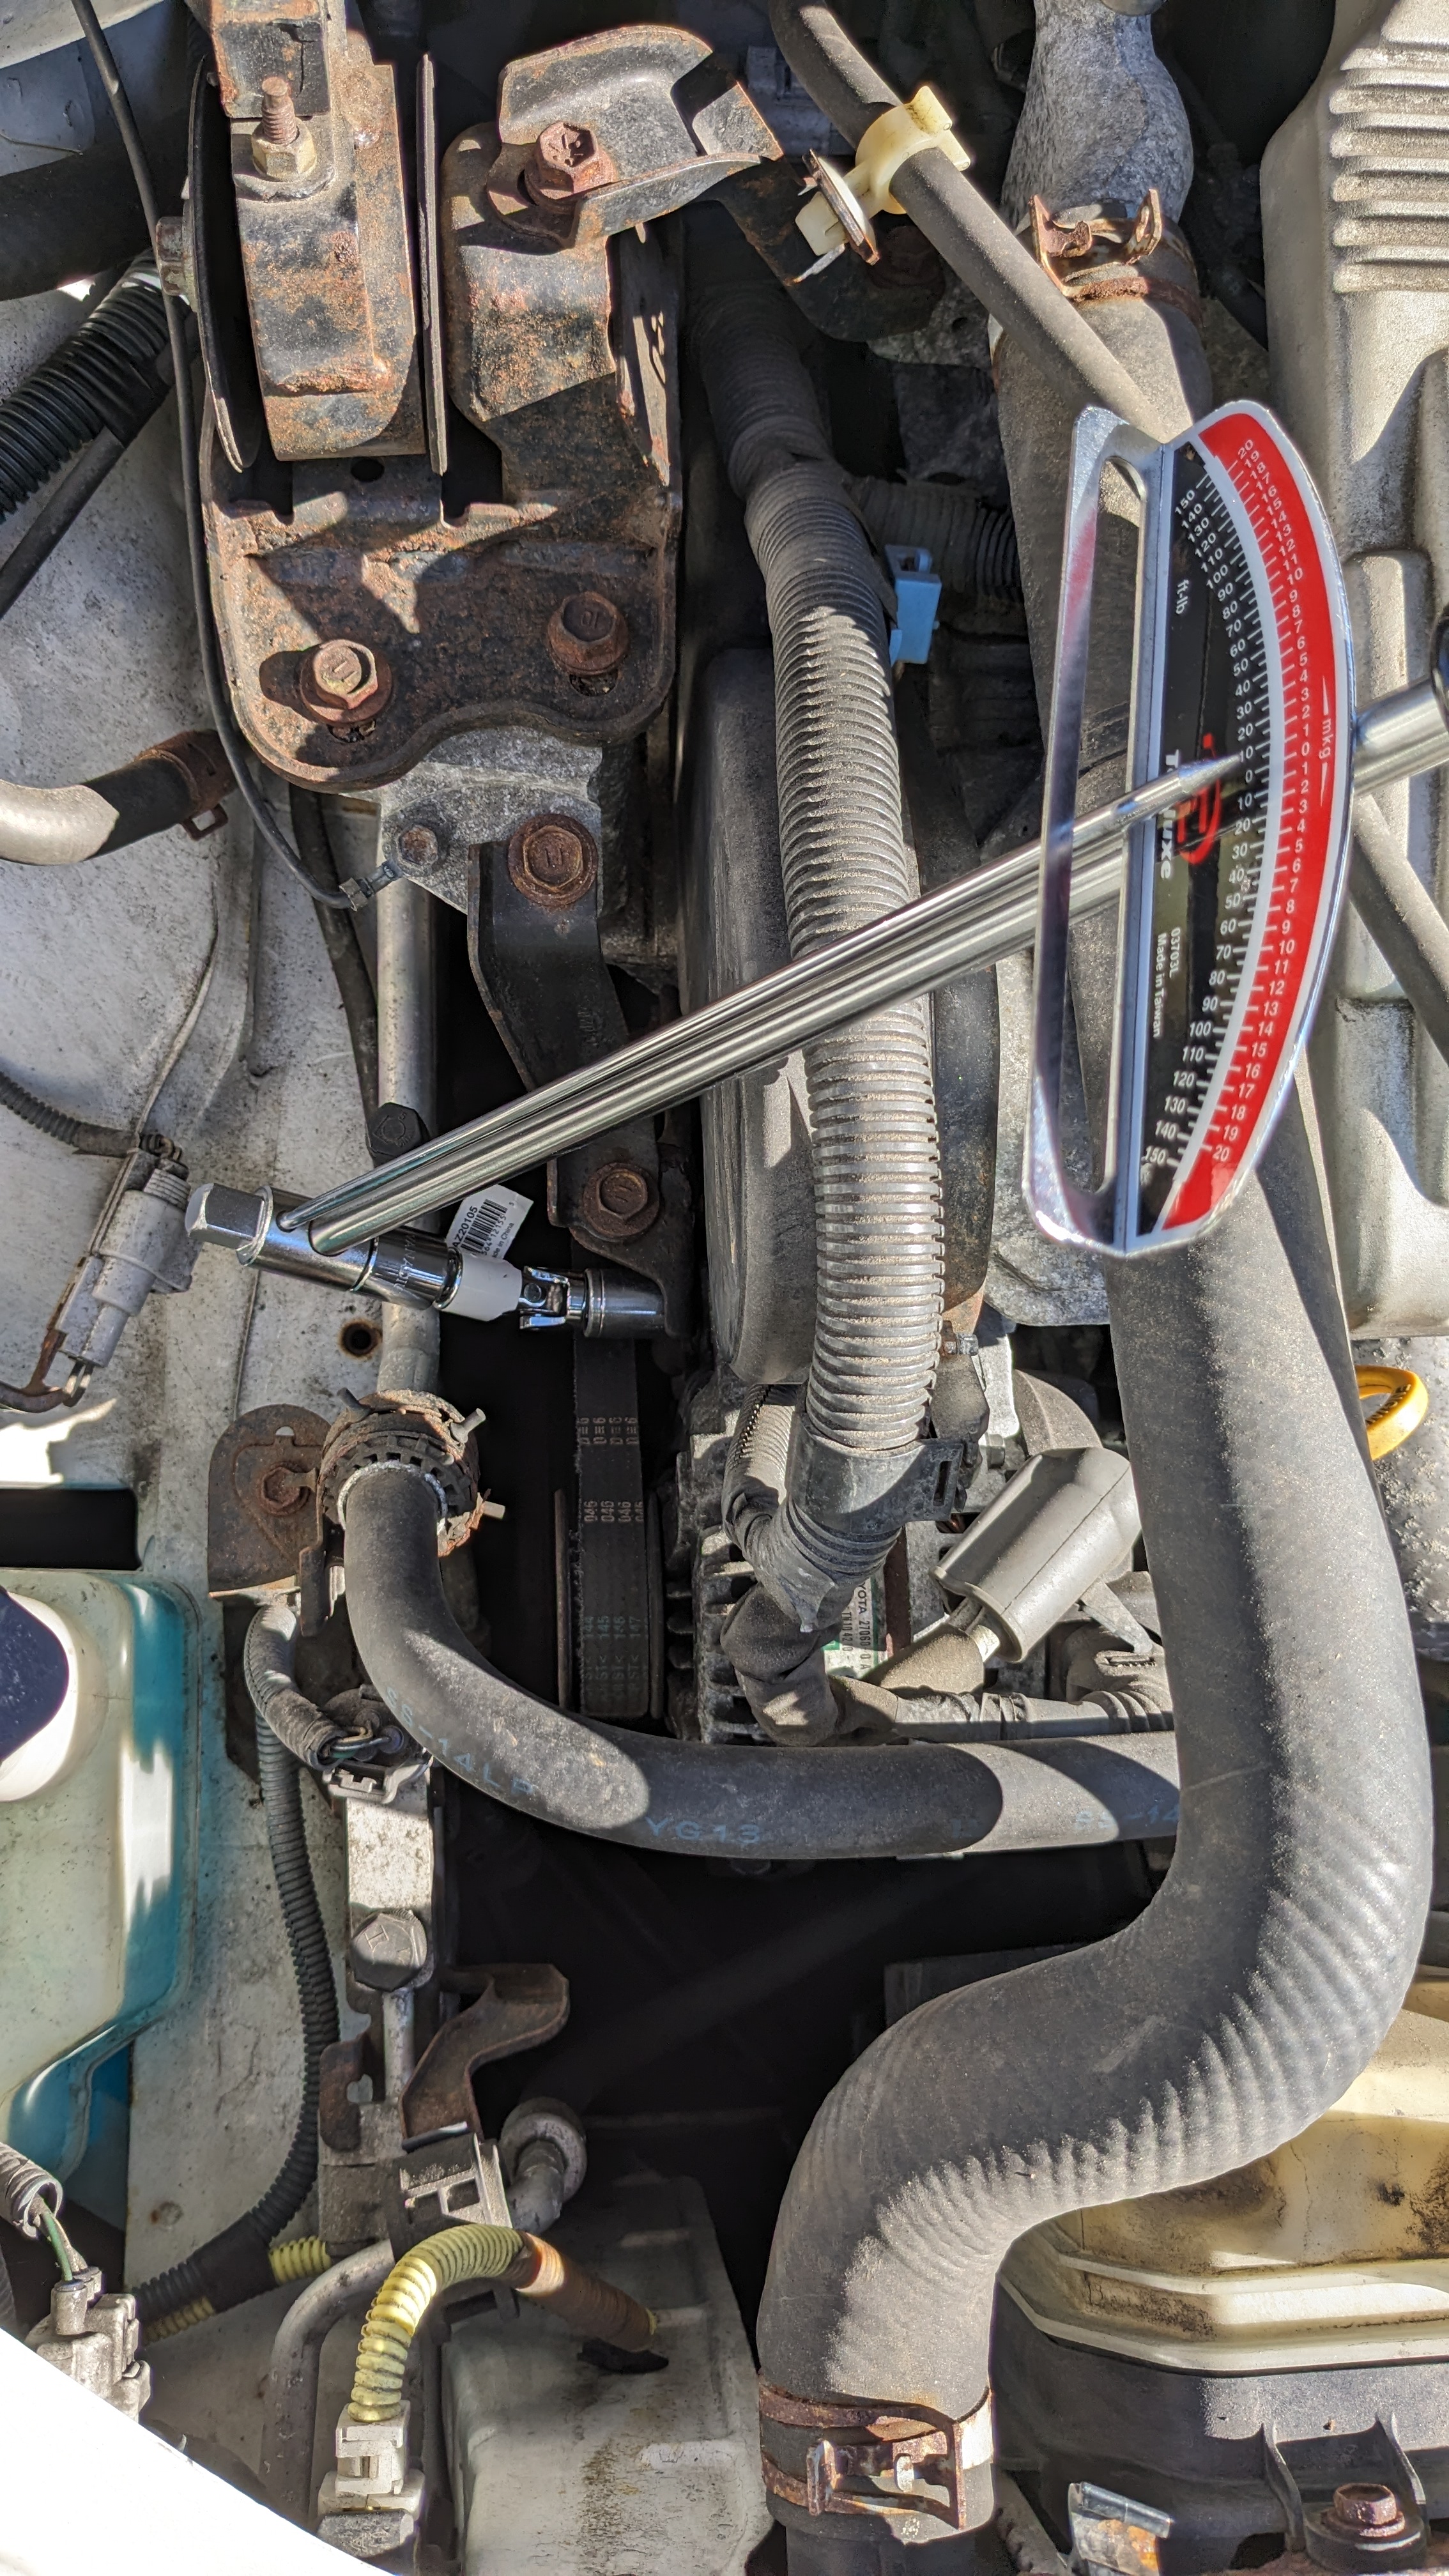
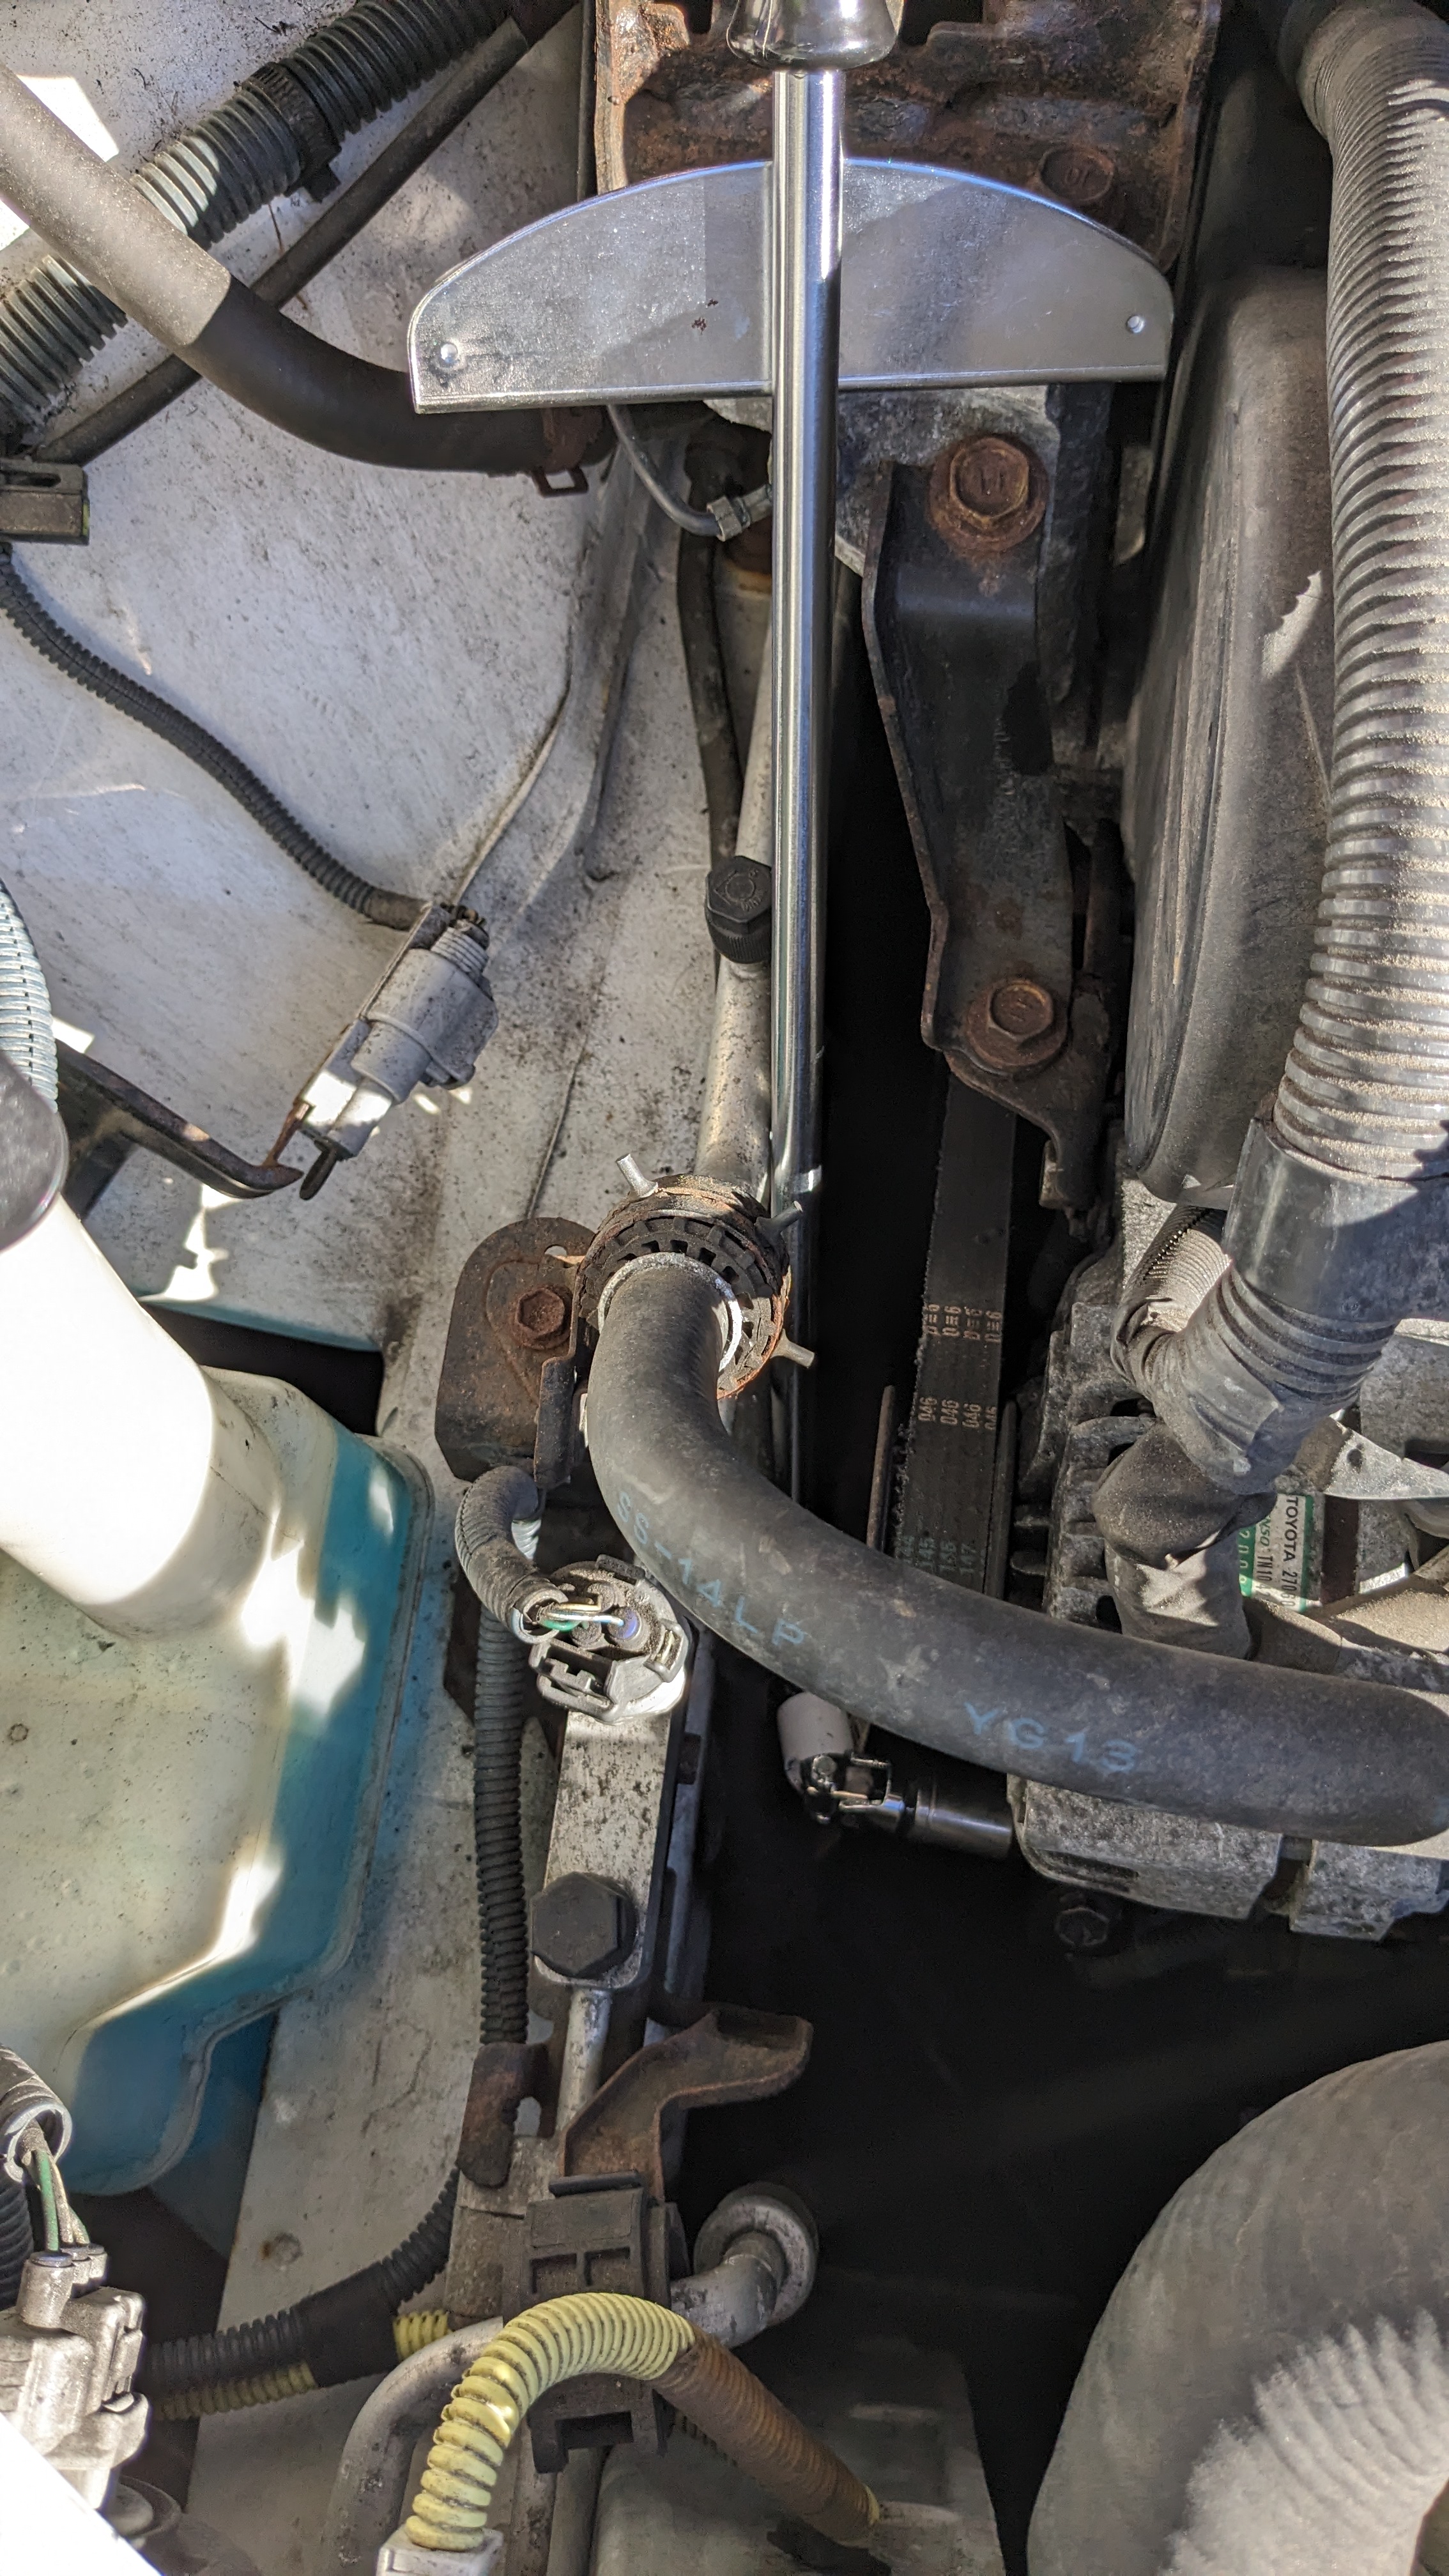
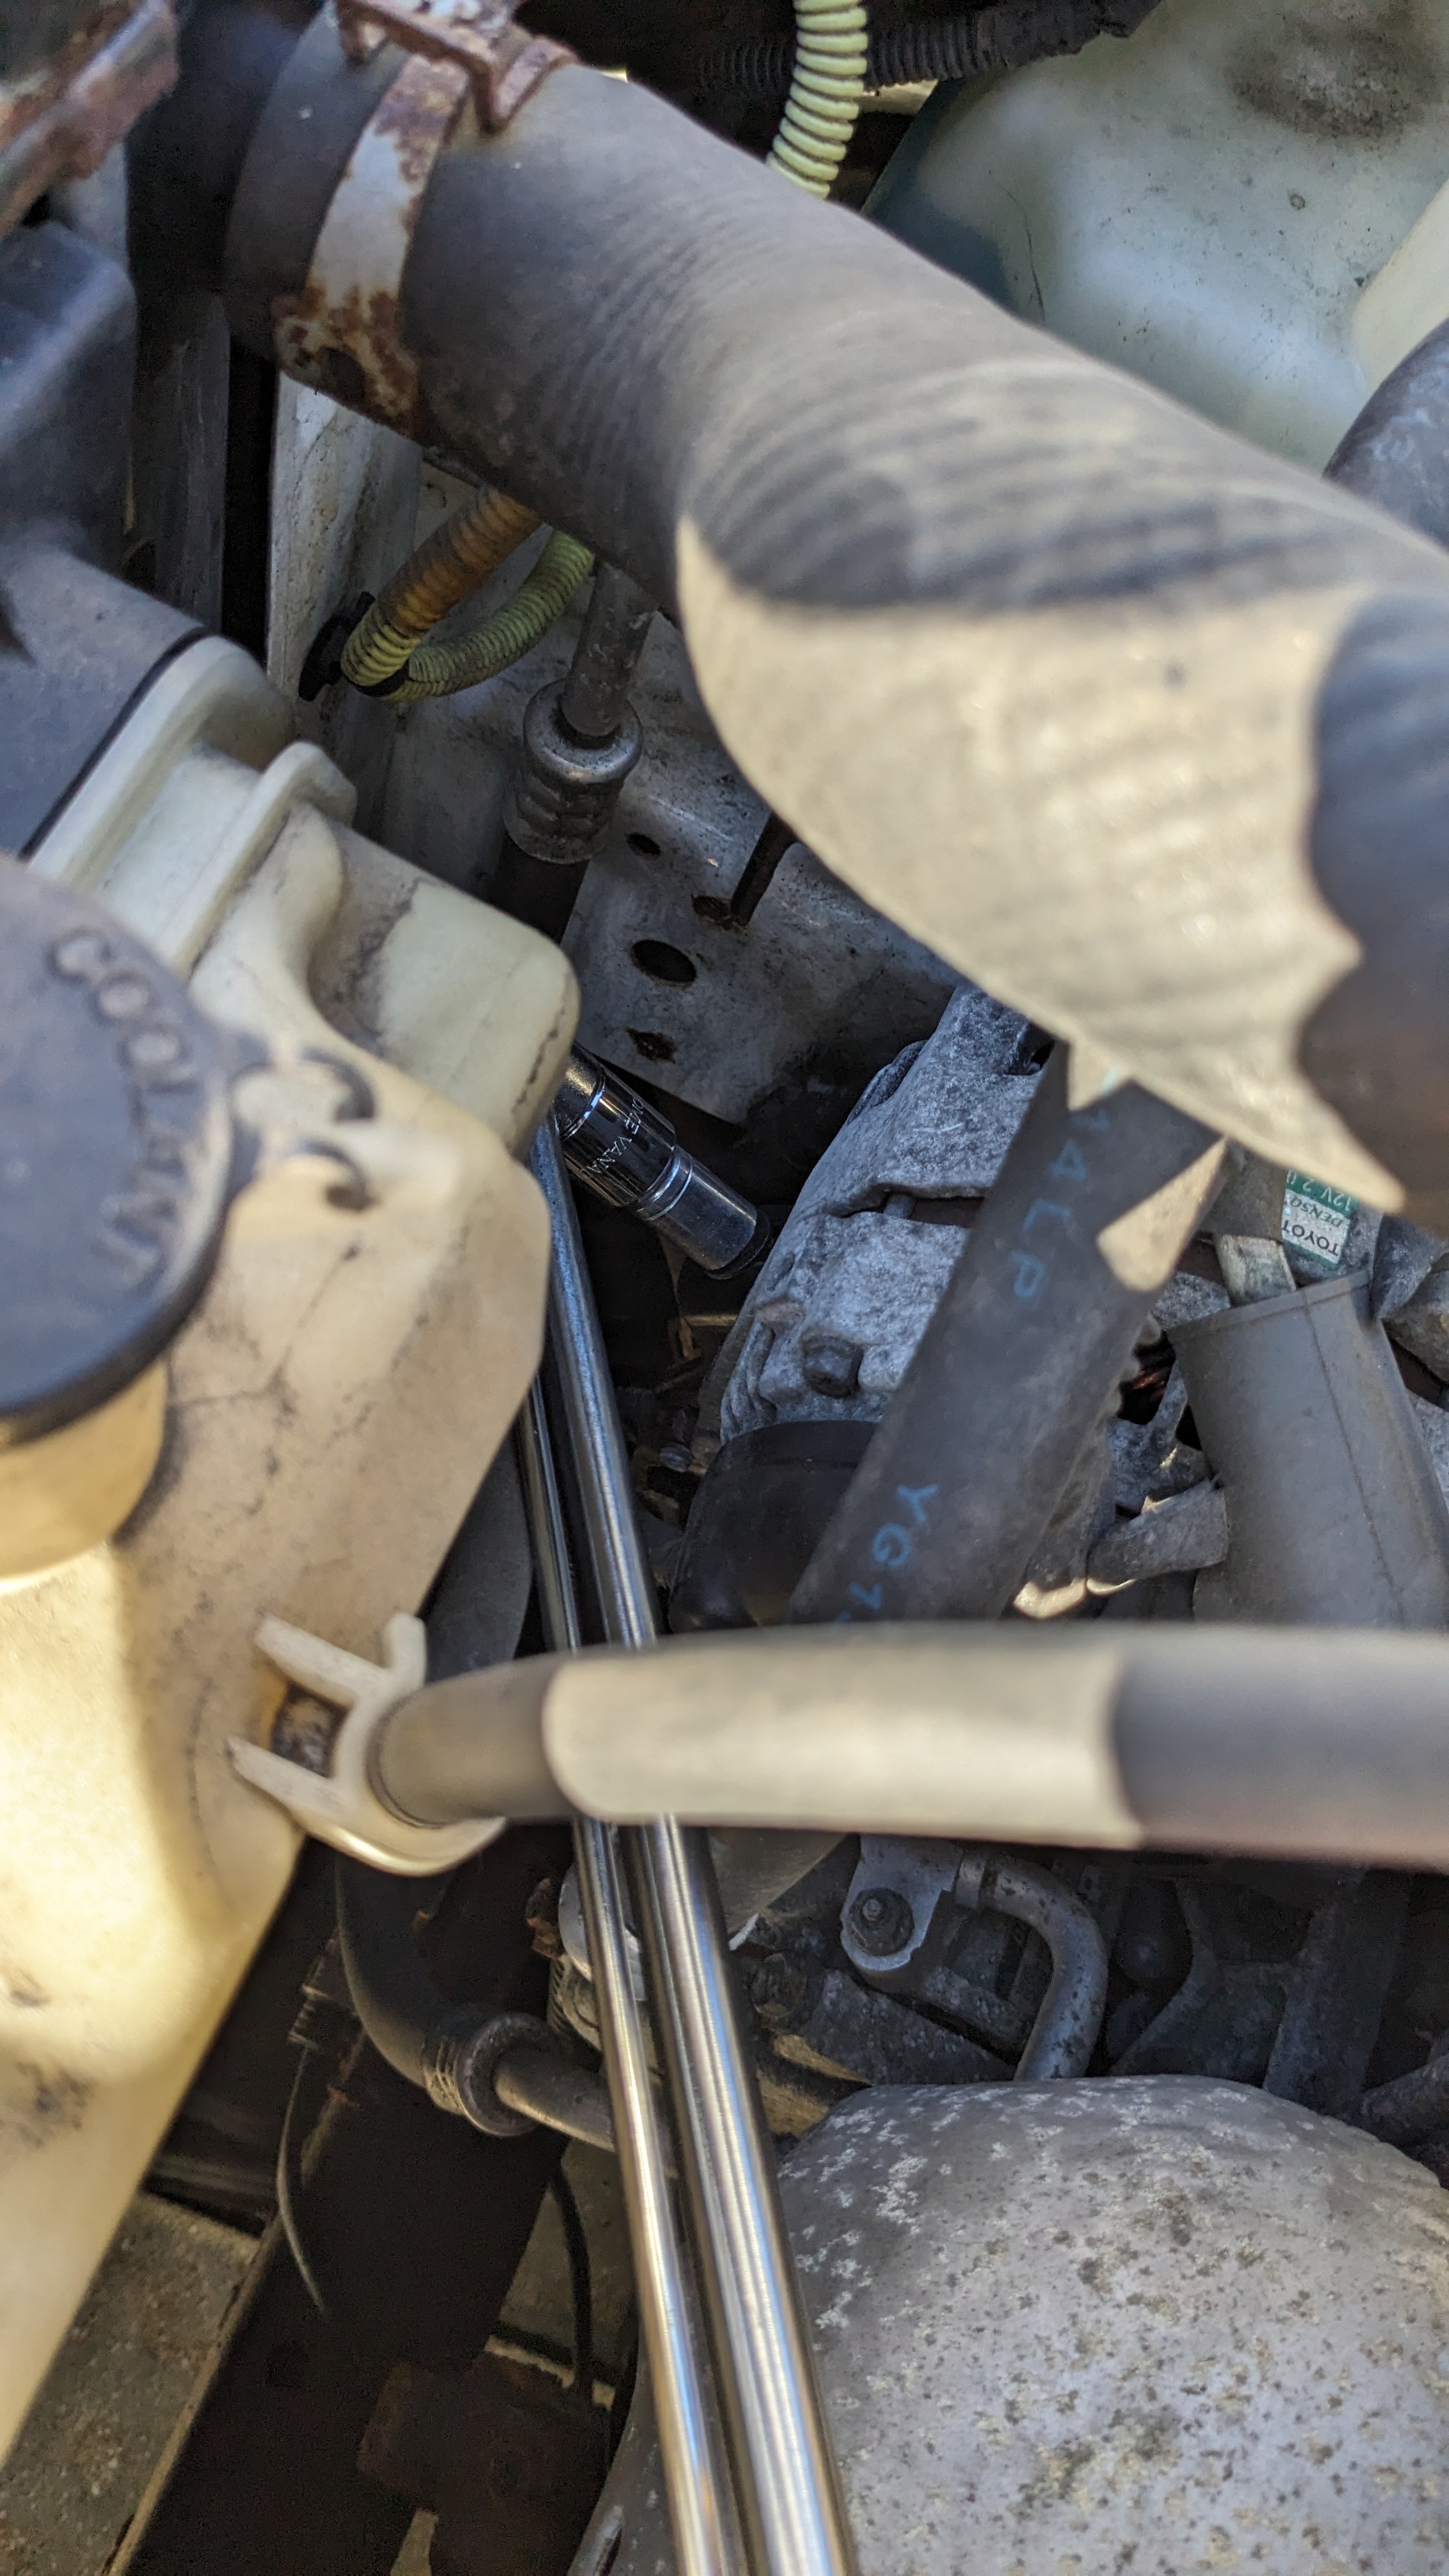
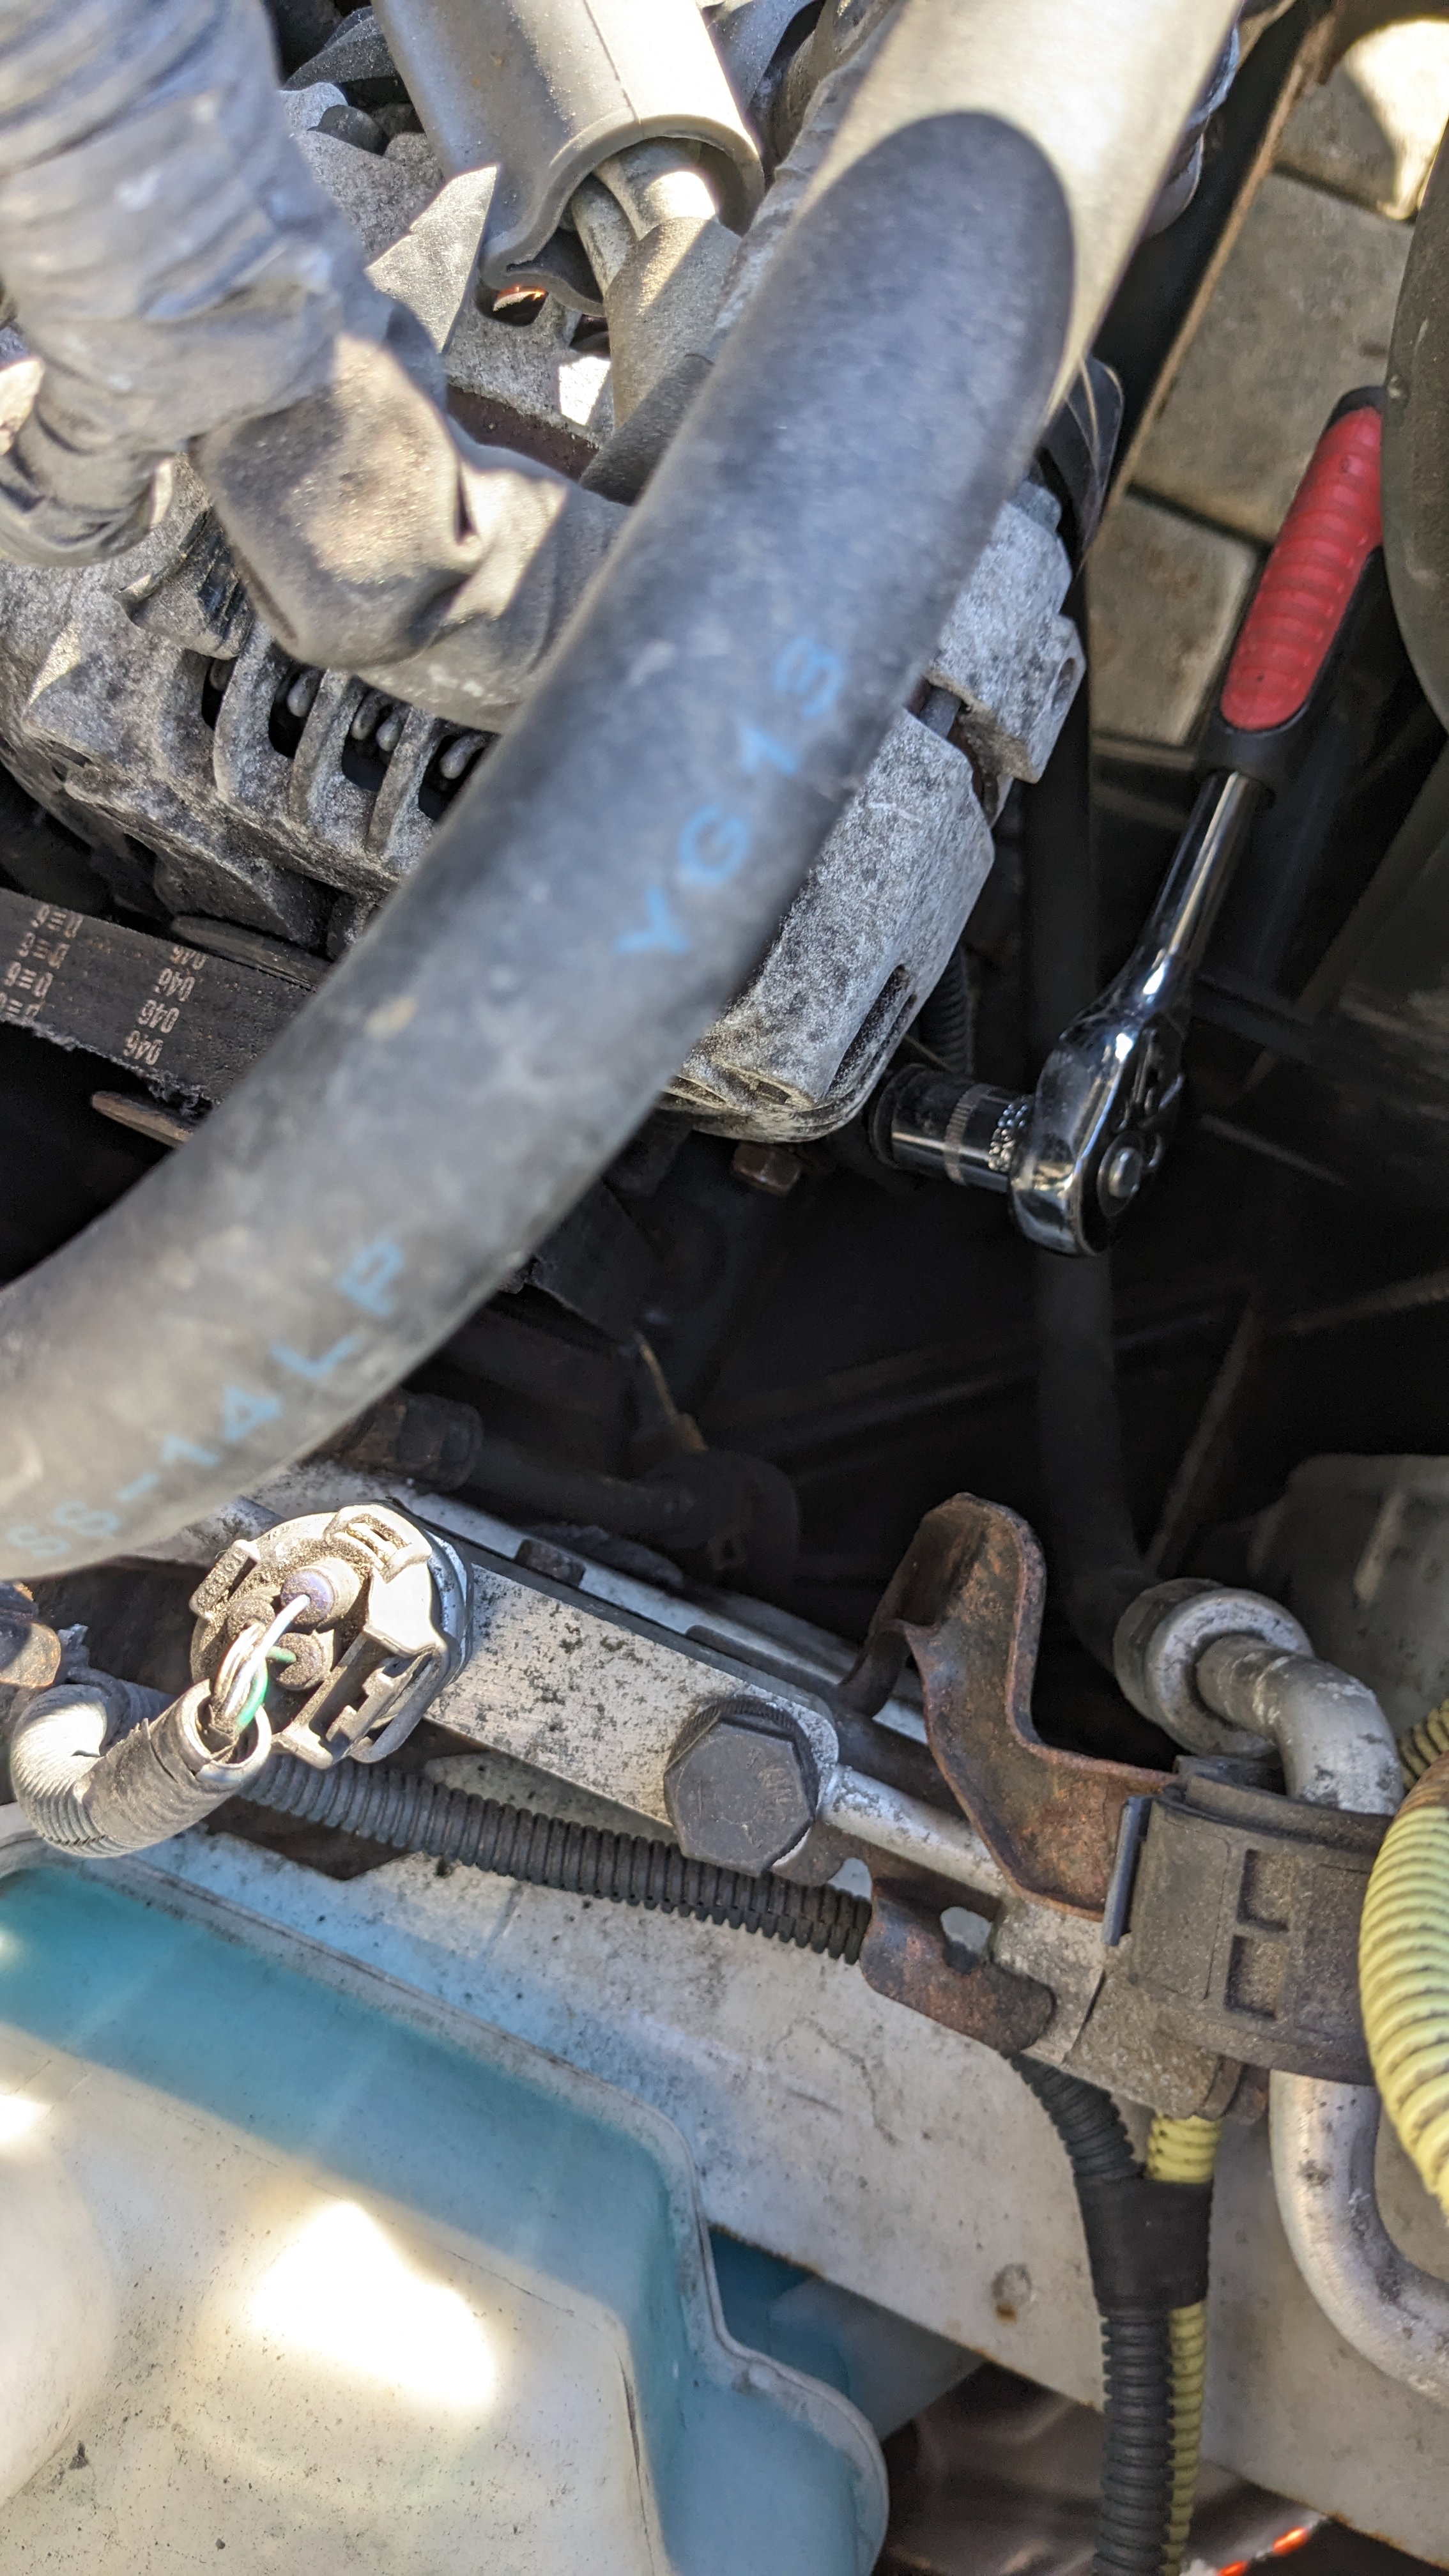
Eventually, I got both screws A and B loosened (with more WD-40 encouragement and using the smaller 1/4" wrench once the screw started to turn). I started to loosen screw C just to make sure it was working. Sure enough, the belt was getting looser. Good. I then retightened screw C and rotated it about 20 times (also with only about 60° of rotational space, so roughly 3.3 full rotations), checking every so often how much I could rotate the belt. Finally, it was sufficiently tight (90° turn) and I tried my best to retighten screws A and B, even though I had to estimate the amount of torque and try to make it match manual specifications.
Here is starting the car, this time, squeaking vaporized.
And one more time, up close.
Overall, the entire process of loosening and tightening three screws cost about 5 hours spread over 2 days, oil-greased hands, and one small scratch on my right pinky. But I'm happy it's not something worse, and that it was addressed before it got worse.
It seems that new models with an automatic tensioner are less likely to have this problem, but at the same time, when the tensioners do break, they would be harder to service. Fortunately, Toyota is well-known for quality control and friendly servicing.